Top 10 Photos of 2016: How to Choose Your Best Photos
Top 10 Photos of 2016: How to Choose Your Best Photos for the Year
Choosing your annual top 10 photos
2016 has come and gone. With the new year comes new goals and resolutions. But before we completely leave 2016 in the dust let's reflect on how we've grown in photography.
I'm a podcast addict. Like a weekly television show most of my favorite podcasts come out with new episodes weekly and it's something I look forward. One of them is the Photo Taco podcast from the Improve Photography network. What I love about this podcast is even though it's actually quite technical in subject matter, the host Jeff Harmon breaks it down simply. Plus, the name fascinates me.
A couple weeks ago I listened to one episode in particular and it inspired some action in me I'd share with you. If you're interested in listening to the full podcast episode it's called Why and How of Annual Top 10. But here's a quick summary and how you can take part too.
The general idea is to choose the top 10 photos you've taken throughout the year
I take thousands of photos throughout the year (and with several different cameras including my iPhone) so when I first heard about this concept I knew it wouldn't be an easy process. But after listening to the episode it's something I intend on doing for 2016 and every year after. Here's a few good reasons why you might want to join in too.
1. It forces you to be a better photographer
By looking back objectively on your photos throughout the year you're forcing yourself to be extremely critical of your photos. Over time you'll also learn what works and what doesn't work, what you like and what you don't. This is key to developing your own photography style over time. You're only going to get there by shooting thousands of photos.
Ideally you'll be doing this process as you take photos throughout the year which will make it easier to choose by the end of 2017. But we're at the beginning of a new year so we have to review ALL photos. Again, it's no easy task but it's worth it to go through this exercise.
2. It helps you develop your personal style
When you start reviewing your photos on a regular basis you'll notice patterns. Maybe you have one subject in particular you shoot over and over (like me and the Golden Gate). Maybe it's a place, a time of day, or specific color palette. Whatever it is you'll only begin to connect the dots when you look back on all your photos.
3. You'll develop a portfolio
Creating an online portfolio of your photography might be the furthest thing from your mind right now especially if you're still learning the ins and outs of your camera. But I promise if you start with this process early, it makes creating a portfolio stress-free later on. Even if it's on a private site for your eyes only, the benefits of culling and creating a portfolio are powerful.
4. You appreciate how far you've come
This is the most important. If we don't look back on our progress every once in awhile it's hard to see how far we've come already. I know I'm always concerned with getting better, improving, moving on to be better and creating my best. But sometimes we need to stop, breathe, and appreciate how far we've come.
My annual top 10 photos of 2016
So what final top 10 photos made the cut? It took a couple rounds of elimination but these are the final 10 photos I'm truly proud I created in 2016.
Long exposure of San Francisco's Golden Gate
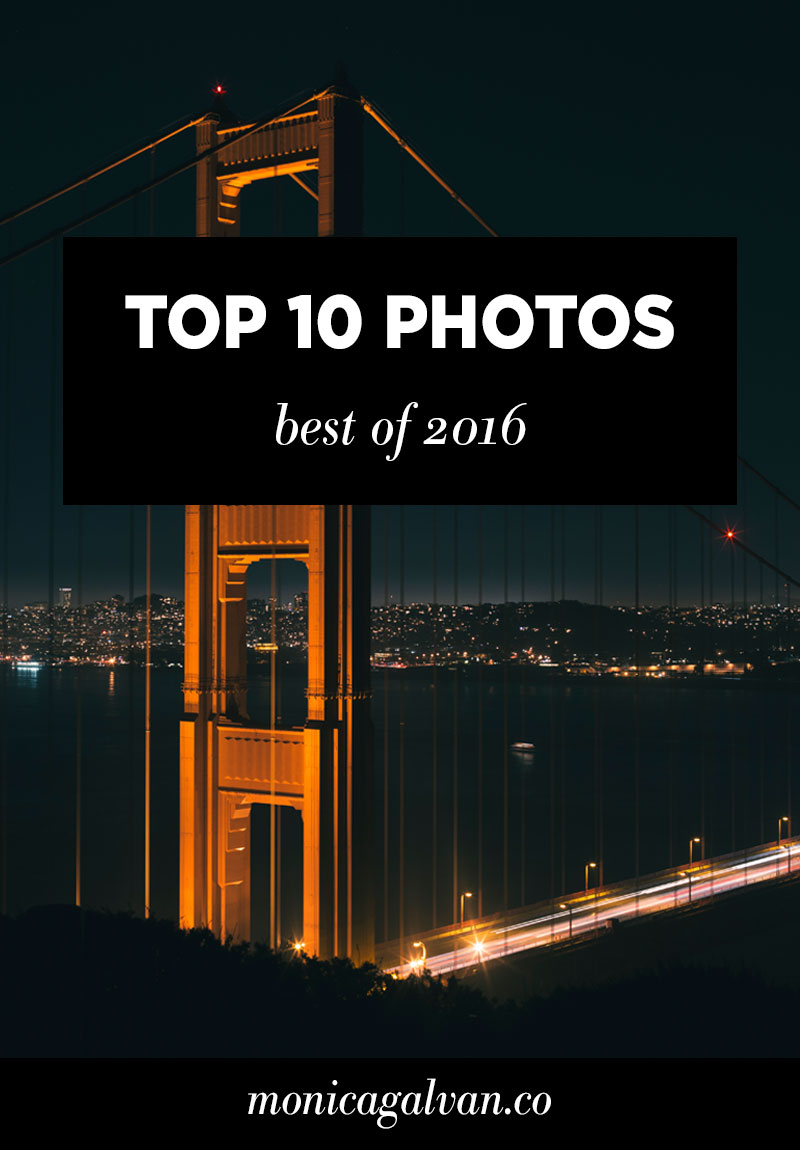
Is it any surprise the first top 10 photo is of the Golden Gate? Didn't think so. This shot was taken from Vista Point in Sausalito one winter evening last January. It's one of my favorite spots to breathe in the views of San Francisco and the Golden Gate. It tends to be quite crowded with tourists during the day but dies down in the evenings.
I set up my tripod, an essential for capturing a photo like this at night, and tested out a few combination of camera settings before getting it right with this one. Long exposures are great for achieving those twinkling lights and the streams of light as the cars drive by.
Tips to create your own long exposure shots at night:
Use a tripod or set your camera on a stable surface. If your camera moves at all the shot will come out blurry instead of crisp and clear like this shot.
The key is to experiment with shutter and aperture until you reach an end result you're happy with. First change the shutter speed. Try 1, 2, 3 seconds and notice how it changes the lighting in your photo. The shutter speed for this shot was 4 seconds.
You also have to be mindful of aperture. Most of the time I shoot around f/1.4 because I like the creamy bokeh and vignette effects it brings to my photos. However, using this setting at night with such a long shutter speed would cause the photo to be too bright and overexposed. So experiment with higher aperture numbers like f/8 as I used here.
Silhouettes of San Francisco's Skyline at high noon
Normally, shooting at high noon is my least favorite time for photographing. All the pros agree, the lighting is the least flattering. But with some enhancements in the post-editing process I achieved my signature moody effect despite the shooting conditions. With the contrast of day's lighting, San Francisco's skyline really pops yet is subtle int his composition.
Tips for shooting your best photos midday:
Use the "bad" lighting to your advantage. How can you use it to create a dramatic and intriguing photo?
Focus on the darkening the highlights and shadows of your photo in post-processing / editing phase.
#WestCoastBestCoast the dreamy California coast
Born and raise, I'm a true Californian. I have immense pride for where I came from, the bay area. So I never shy away from sharing this theme of love and pride for California in my photography and of course it would make it in my top 10 photos.
In March of 2016 I flew down to Southern California for a short trip, see more photos and video footage of this aerial experience here. As I mentioned in the post, flying can be a surreal experience. You experience some of the most humbling thoughts along with the views.
Tips for shooting your own aerial photos:
We can't always be on an airplane to catch these amazing views (although I always have my camera ready when the opportunity strikes). So look for other ways to take "aerial" inspired photos. Maybe you climb a few flights of stairs and photograph the view below.
The point is to get your to look at your surroundings with new eyes and constantly experiment shooting in different angles: above, below, from one side to another.
Minimal, with a touch of flash
Signage is also theme in my photography and what better place to capture it then the city of Las Vegas, Nevada? I also love to take simple, minimal shots like this one of Harrah's on the Vegas strip. In combination with the classic, black and white film editing it's a great addition to this top 10 of 2016.
Tips for shooting your own minimal shots:
Isolate an object, a building, a sign, or any subject of your choosing.
Focus on a few key details and get rid of all other distractions.
The background is just as important as the foreground so don't ignore either.
Keep color in mind too (or revert to black and white like this one), choosing to focus on a few key colors. Your mind should feel calm and at ease when you view these carefully composed shots.
Lines and shapes
Another photo taken from the same trip to Vegas is this one of the infamous Paris balloon. I love the simple lines and shapes and the elegance of Paris in script.
Tips for shooting your own simple line and shape compositions:
Notice everything around you.
Perspective is key.
Try zooming in or out to focus on a particular detail.
Abstracted from reality, in a daze
I LOVE creating abstract images that confuse and/or make you gaze at something a little longer. Also shot in Las Vegas, this was part of some game I saw as I walked through a shop. I saw the reflecting lights and movement. There's so many layers and levels to this photo and it works best in a contrast of black and white.
Tips for creating your own abstract photos:
Again, notice everything around you.
You'll never know when a photo opportunity will present itself so always be ready with your camera.
Vintage San Francisco
I have an affinity for all these vintage, from another time and place. From "I Love Lucy" to Elvis Presley, vinyl records, 1950s Cadillacs and drive-in theatres. It's true your strongest passions and experiences will eventually find their way into your style of photography. I've often wished I could go back in time and live in San Francisco in the 1950s / 1960s. So recreating it with my camera is the second best.
This San Francisco city scene is shot from the Alta Plaza park in Pacific Heights. The quant, Victorian houses of San Francisco's neighborhoods, the Sutro tower in the distance, and never ending line of parallel parked cars; this is San Francisco.
Dizzy with color
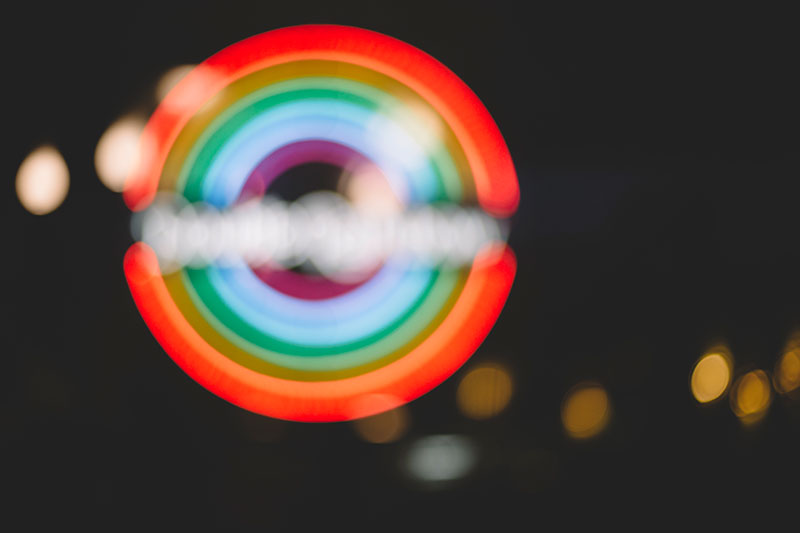
Of course, another abstracted addition to the top 10 photos. This one is from downtown San Rafael, a place I now call home. I love the signage of the "Double Rainbow" cafe and I love it even more when blown out of focus :)
Tips for shooting your own creative bokeh photos:
Bokeh photography is by far the easiest to genre to explore. You simply adjust your photo until it's out of focus. Experiment with manual focus on your camera on bright lights at night and see what compelling compositions you create!
The key is to focus on lighting which is why these photos are best shot at night. Shooting with a fixed/prime lens like the 50mm and using lower aperture is best for these shots.
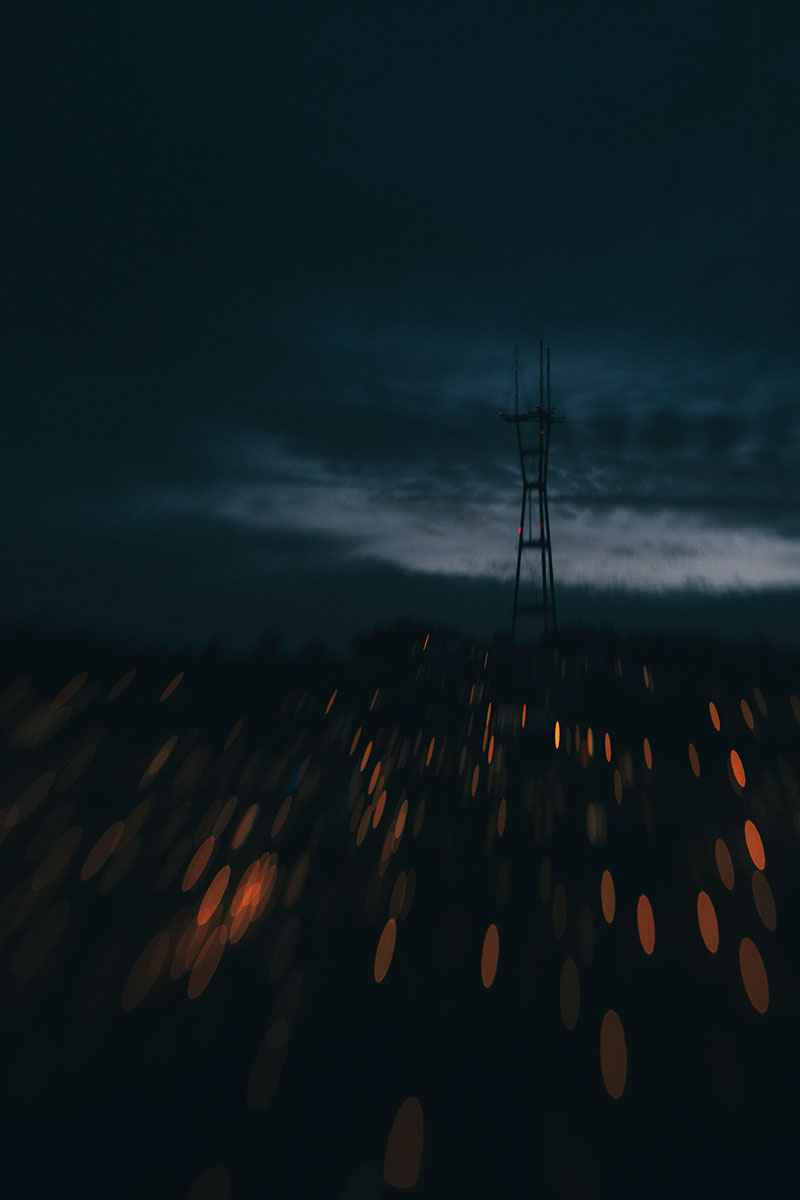
Moody blues
A favorite experimental lens I occasionally shoot with is a Lensbaby. Think of this style of photography as an extreme version of bokeh. How the lens works is you have one very small focus, in this case the Sutro tower in the distance, while the rest of the scene fades in focus. I find this lens works best when used at night, the city lights add to the effect. You can experiment and truly create some unique images. Here's a series of photos I created with the mobile Lensbaby on an iPhone.
Finish what you started
Now for the last of the top 10 photos of 2016. I started with the Golden Gate so I figured I had to end with it too. I mentioned Vista Point above being one of my favorite spots to capture the whole city from afar but the view from Marin Headlands is by far the best. If you'd like to experience the view for yourself, check out the film footage in this post here.I've soaked in the view from this spot many times and it never gets old. Day or night, no matter when you go you'll never experience the same view twice. I love the strength of the Golden Gate in this shot, it stands tall and upright as it protects the city from harm.
How to choose your annual top 10 photos
Want to take part in this exercise too? There's only two rules:
The photos MUST be shot from January 1, 2016 – December 31, 2016. If you took the photo in 2015 but edited it in 2016, it doesn't count. 2016 photos only!
Choose your top 10 photos overall. This may be tough if you shoot many genres (landscapes, portraits, cityscapes, to name a few) but choose your top from all, not 10 for each category.
Tips to keep up with your top 10 photos for next year:
Going forward the best way to help you keep your best shots in mind for 2017's top 10 best photos is to use a rating system, if you don't already.
Whether you use Adobe Bridge or Adobe Lightroom to navigate the catalog of your photo collection, be critical through the selection phase of editing. Rate all your photos with 2, 3, 4, or even 5 stars.
Then when you get to the end of the year your first round of top 10 is already done for you – those 4 and 5 star photos.
From there you keep eliminating until you reach the final 10 you're most proud of.


