Protect Your Images with Photoshop Metadata

Protect your images with Photoshop metadata
Have you ever worried about sharing your images on the Internet? Anytime you upload something to the web you risk the chance of your work being used (without permission!) by another.
When you share information on the web it's always best practice to give credit in the form of a link back to the original source so the reader can find out more information. Taking credit for photography you didn’t shoot yourself or pay for (like stock photography) is plagiarism and should be taken seriously.
As photographers we're even more concerned with the copyright of our images. This is why it's a good idea to get into the habit of adding metadata to our images. That way if an image is ever taken from your website or social media the copyright information will be embedded within the image.
You can get as detailed as you like with metadata. Start with adding your name as the creator of the image, website source, and any other contact information you wish to add.
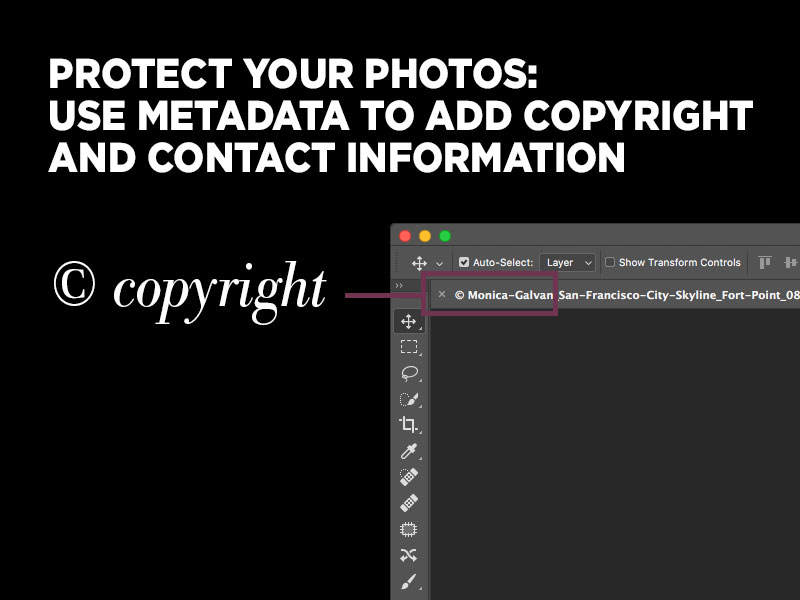
You’ll even see the © copyright symbol when you open the image up in Photoshop, as shown in the screenshot below.
What is metadata?
First, you may be wondering what metadata is and why it's important. You may have already heard all about the amazing benefits of adding metadata but have never tried it yourself or know where to begin. This post will help clear up a few of those confusions.
Metadata is data that describes other data. It helps you organize and retrieve vital information on your image. It also makes the file searchable on the computer and/or Internet.
Metadata can be created manually or automated by a process (like the one I'll show you below). A few examples of automated metadata are date created, date modified, and file size. These fields automatically populate themselves.
If you take a look at the metadata of a photograph you might be amazed by how much information is captured and stored! You can find out which camera created the file, exposure information, and descriptive information like keywords.
How to add copyright information with Photoshop actions
Before we get into the step-by-step tutorial on how to add copyright information to the metadata of your images, be sure to create a new Photoshop action so you only have to go through this process once. Once you press Play, the Photoshop action performs a series of pre-recorded steps.
The purpose is to create a sequence that can be applied repeatedly, giving you the same results every time. We want to eliminate tedious, repetitive work by automating as much as possible. It's time-consuming to add these steps to your editing workflow for every photo. Using a Photoshop action will cut down the time.
If you’ve never created or used Photoshop actions before, don’t worry. I'll go through it one step at a time. By the end of this tutorial you’ll be glad you took the time to set up the workflow and look for more ways to use Photoshop actions to save time in the future!
Step 1: Create a new Photoshop action

After opening an image in Photoshop go to Window > Actions (from the toolbar menu). The actions tab will pop up on your screen. Click Create New Action to start a new workflow.
Step 2: Name your Photoshop action + record
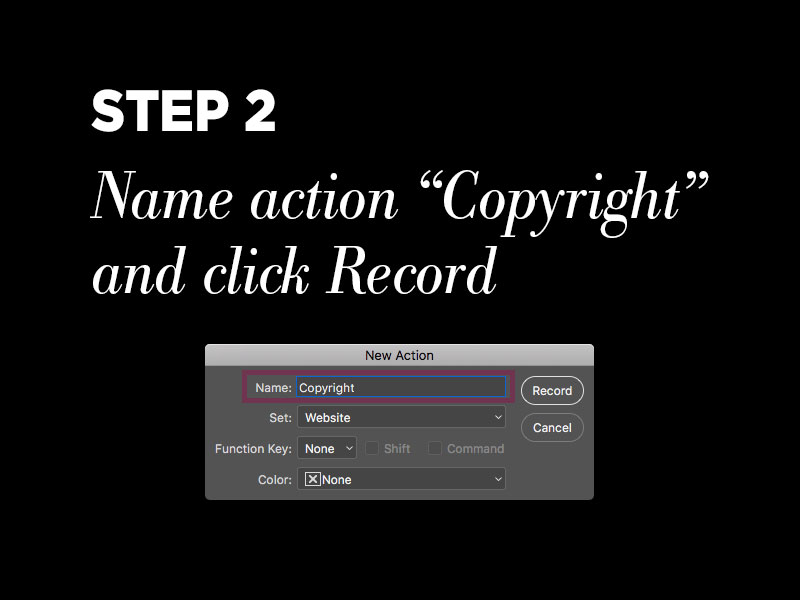
Under Name enter a title for your new action. For this tutorial I named mine Copyright to remind me its purpose. If you want to increase the automation process by a notch, assign a Function Key to trigger the action. When you’re ready click the Record button to start recording.
Note: Anything you do from this point on within Photoshop will be recorded in the action. It’s important to only perform the required steps for this workflow. The point of a Photoshop action is to create a workflow that can work on any image without interruption.
Step 3: Open File Info
Next, go to File > File Info. All the fields in the dialog box should be blank since this is a new document. Take a minute to explore all the options.

Step 4: Add your information
Under the Basic tab fill in your name or company name under Author. Change the Copyright Status to Copyrighted, add a copyright notice, and insert the Copyright Info URL. Take a look at the example below to see how to personalize with your information.
Quick tip: To add a © copyright symbol on a Mac press the “alt” or “option” key while typing “g” on the keyboard. To add a © copyright symbol on a PC press the “alt” key while typing “0169” on the keyboard.


Notice the Creation Date, Modification Date, Application, and Format. These are examples of automated metadata we mentioned earlier. You can't modify these fields.
Next, choose the IPTC tab. You’ll notice the Creator field populated itself with the same information you added in the Author field in the previous tab. You can get as detailed as you like by adding information into the fields. If you’re a photographer and want others to know the location of your business you can add a business address. The most important pieces of information you’ll want to add are your email address and website URL (if you have one). That way if someone finds your photo online and falls in love with it, they can contact you and possibly hire you if they’re interested!
Step 5: Add rights usage terms
If you scroll down to the bottom of the IPTC tab you’ll notice the Copyright Notice also populated itself from the information you entered in the Description tab. Under Rights Usage Terms, add All Rights Reserved.

You may want to skim through the other tabs within this dialog to familiarize yourself with what’s available. Feel free to be as detailed or brief as you like. For the purpose of this tutorial, we’re only adding copyright information.
Once you’re done adding your information to the fields click OK. Then click Stop on your Photoshop action tab and you’re done!
Now that you’ve gone through this process once and created a Photoshop action, you’ll never have to do it again. The next time you open a new photo in Photoshop and click Play on the action, it'll automatically run through the workflow process.
It’s a good idea to test your new Photoshop action a few times with other images to make sure everything runs smoothly. Open a new photo, click Play or use the assigned function key if you specified one. Now you can quickly and easily add copyright information to the metadata of all your images with a click of a button!